

For contractors, architects & facility managers
Installation checklist
A wash tub is in the wall for decades. Use this list to get water, drain, power and space ready before it arrives, so installation day is a short one.
Four phases
The checklist
Work through it in order. Each phase depends on the one before it.
Phase 1
Before you order
- Pick the wall the supply and waste lines come from, then order left (LSP) or right (RSP) side plumbing to match.
- Draw the tub's footprint on the plan, plus room for the door to open and a person to stand alongside.
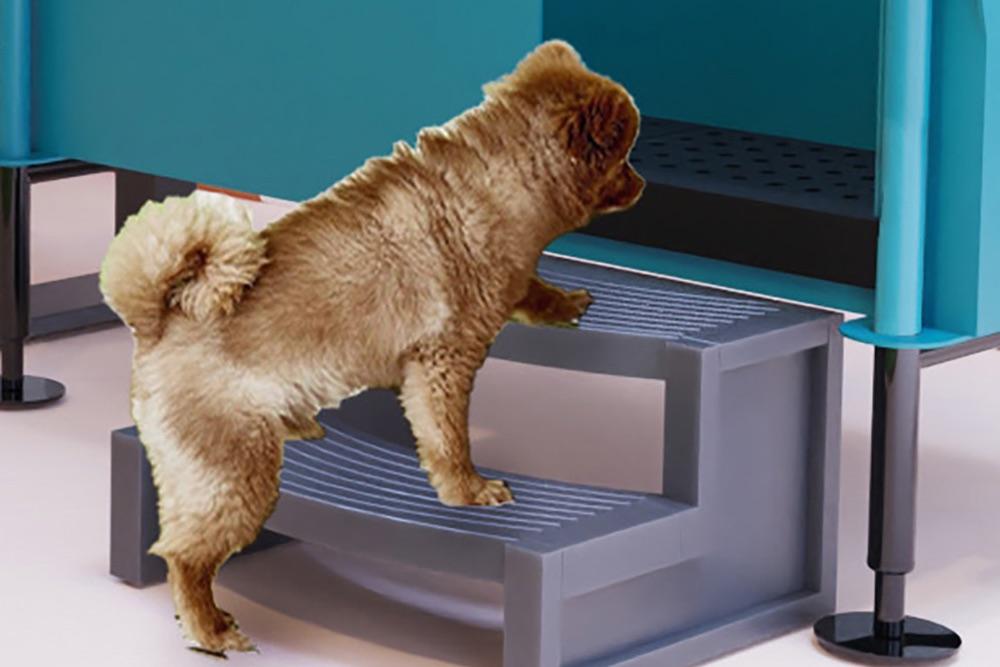
- If small dogs will use the tub, leave floor space for a step-up beside it.
- Check the lead time and set the delivery date against your schedule.
Phase 2
Rough-in
- Run hot and cold supply with shutoff valves within reach of the tub.
- Consider a thermostatic or mixing valve so bath water stays at an even temperature.
- Stub out a trapped, vented waste line sized to local code; add a floor drain for splash and mopping.
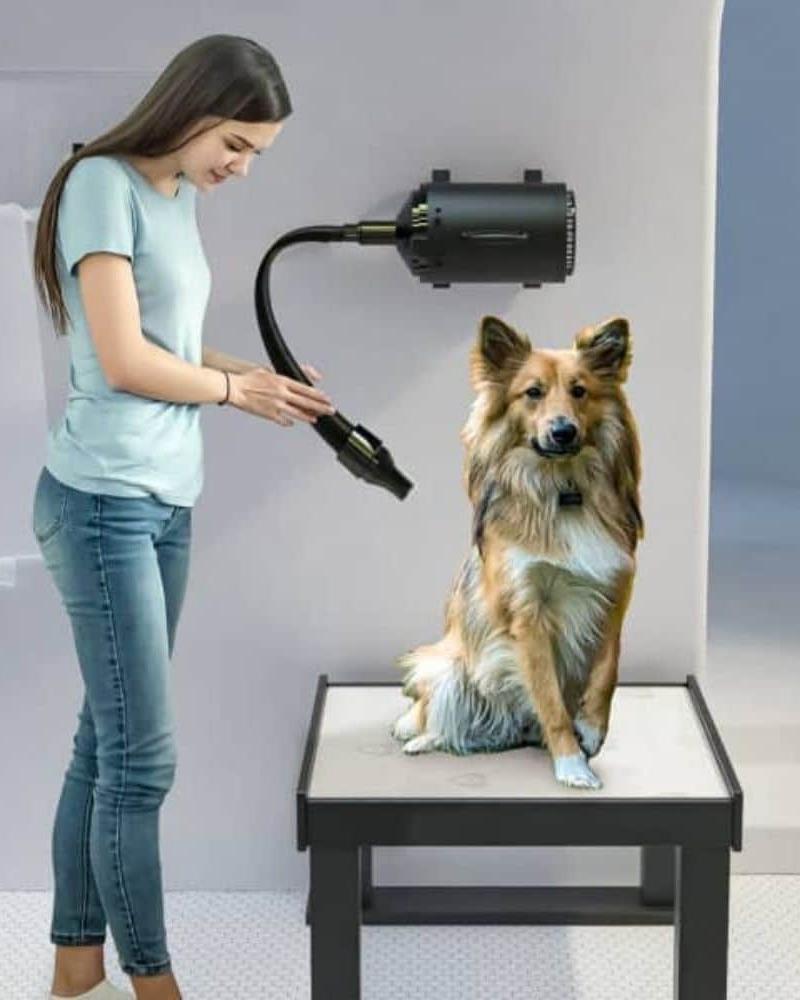
- For a dryer, add a dedicated GFCI-protected 120 V outlet clear of the spray zone.
Phase 3
Finishes
- Waterproof, slip-resistant flooring that runs under the tub.
- Washable wall panels (FRP or tile) behind and beside the tub.
- An exhaust fan sized for a wet room.
- Blocking in the wall for a wall-mounted dryer and leash hooks.
Phase 4
Delivery & set
- Measure every door and corridor on the route from the loading area to the room.
- Set the tub, then level it with the adjustable feet so it drains completely.
- Connect the hose kit and supply, run water and check every joint for leaks.
- Fit the hair catcher and run a full tub of water through the drain.
Rough-in
Utilities at a glance
| Service | What the tub needs | Tip |
|---|---|---|
| Water | Hot and cold supply with shutoffs at the tub. | A mixing valve keeps the temperature steady for self-serve users. |
| Waste | Trapped and vented to local plumbing code. | The tub's hair catcher keeps most hair out of the line. |
| Power | Dedicated 120 V outlet for the dryer, which draws 9 A. | GFCI protection, placed away from direct spray. |
| Floor | Waterproof and slip-resistant. | A floor drain nearby makes daily cleaning faster. |
| Walls | Washable surface around the tub. | Add blocking for the dryer bracket before panels go up. |
| Air | Exhaust ventilation for humidity and odor. | Wet dogs and warm water add a lot of moisture. |
Local plumbing and electrical codes come first; your contractor or inspector has the final say.
For the floor plan
Sizes
Outside dimensions. Leave working room in front and to the side.
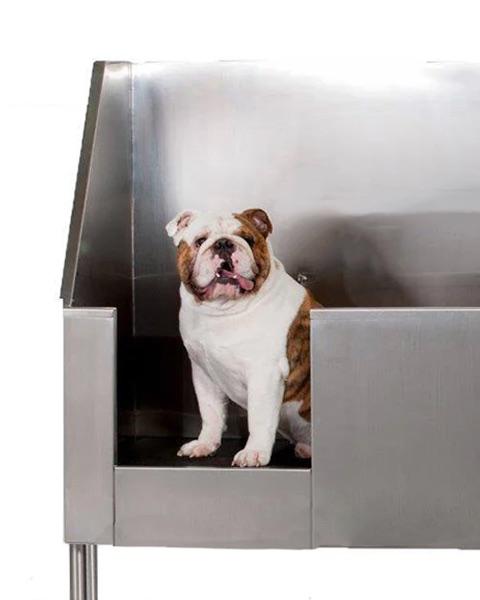
- Dog Wash Station Standard Series – Parallel Access – 48″ W25″ W × 48″ L × 58″ H
- Dog Wash Station Standard Series – Parallel Access – 60″ W25″ D × 60″ W × 58″ H
- Cool Dog Wash Tubs – Safety Stair Step-Up14″ H × 27″ W × 25″ D, 14 lb
- Dog Wash Hair Dryer – Wall Mounted120 V, 9 A; wall mounted
- Dog Wash Tub Pro Series – Parallel Access TubSee the spec sheet
- Dog Wash Tub Pro Series – Perpendicular Access TubSee the spec sheet
Who should install a dog wash tub?
A licensed plumber connects the water and waste lines, and an electrician adds the dryer outlet. Setting and leveling the tub is straightforward once the rough-in is done. Ask us if you need an installer referral.
What does left or right side plumbing mean?
It is the end of the tub where the faucet and supply connections sit. Stand facing the tub: if your water lines come out of the wall on your left, order left side plumbing (LSP); on your right, right side plumbing (RSP).
Where do I find drawings for my plans?
Each product page has a Downloads section with the spec sheet and plumbing details, and the main ones are collected on this page. Contact us if you need a file in another format.
How long until the tub ships?
Standard Series wash stations currently ship in about four weeks. Every tub is made to order in the USA, so confirm the lead time for your order when you request a quote.
Plan & install
More planning guides



Plumbing & installation
Ready to plan your project?
Every tub comes with left or right side plumbing to fit your space. Ask us for a quote, volume pricing or an installer in your area.