
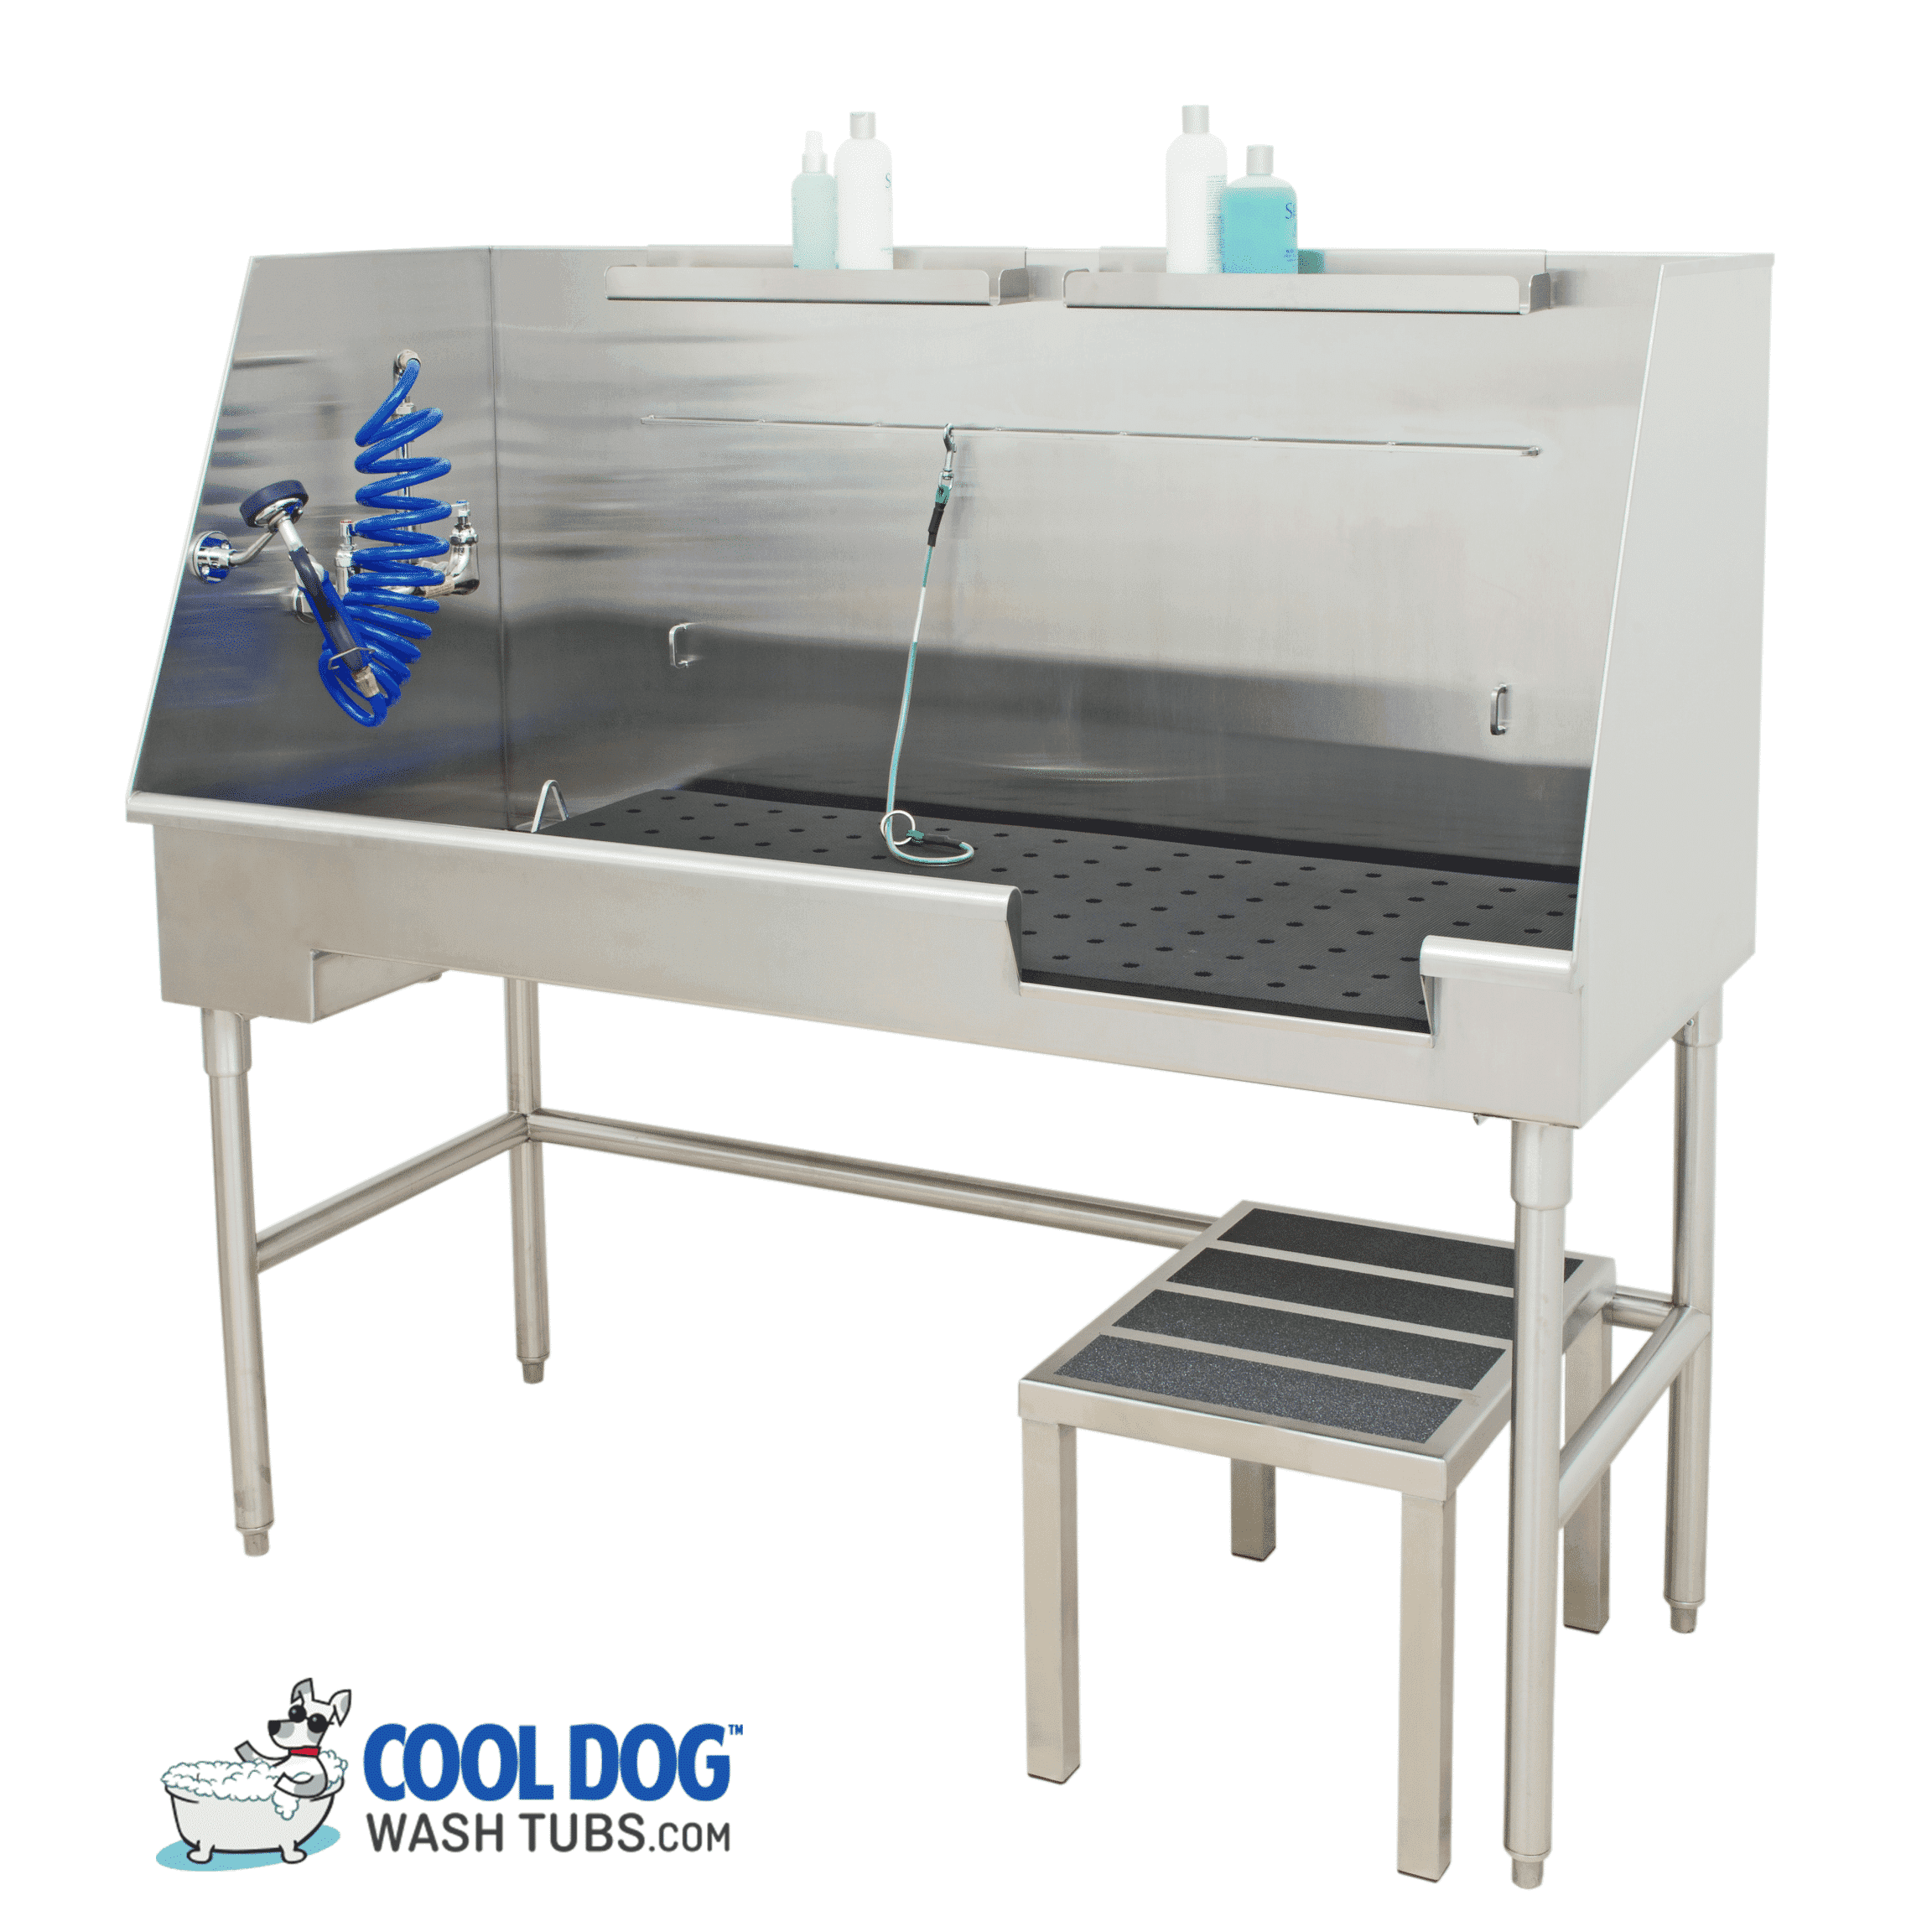
A dog wash tub is a long-term fixture, and a little planning before it arrives saves time, money and rework. Whether you are a contractor, an architect or a facility manager, use this checklist to prepare the space for a smooth installation.
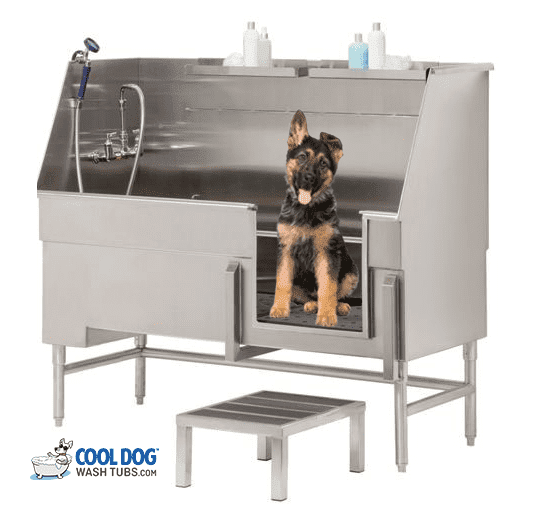
1. Choose the plumbing side
Every Cool Dog tub is offered with left side plumbing or right side plumbing. Decide which wall your supply and drain lines come from, and order the matching configuration. For example, the Standard Series 48″ is available as DL-DWT48-LSP-PLT or DL-DWT48-RSP-PLT. Getting this right up front avoids awkward hose runs later.
2. Confirm the footprint and clearances
Measure the space carefully, including room for the door to open and for a person to stand comfortably at the tub. The Standard Series 48″ wash station measures 25″ W x 58″ H x 48″ L. If dogs will walk in, leave a clear approach in front of the door, and plan space for safety steps (14″ H x 27″ W x 25″ D) if you will use them.
3. Plan the drain
A dog wash tub sends a lot of hair toward the drain. Our tubs include a hair catching system, but the building drain still needs to be properly sized, vented and trapped according to local code. Many facilities also add a floor drain nearby to handle splash and cleaning water. Adjustable feet on the tub help you set the right slope so water drains completely.
4. Hot and cold water supply
Provide hot and cold supply lines with shutoff valves near the tub. A mixing or thermostatic valve helps keep water at a comfortable, consistent temperature for dogs, which is especially useful in self-serve pet spas. Plumbing hose kits for our Standard Series are listed on each product page under Downloads.
5. Power for a dryer
If you are adding a wall-mounted dog dryer, plan a dedicated outlet within reach. Our dryer runs on 120 V at 9 amps. Place the outlet away from direct spray and follow local electrical code for wet locations, including GFCI protection.
6. Floors, walls and ventilation
- Choose slip-resistant, waterproof flooring that is easy to clean.
- Protect the walls around the tub with a washable surface such as FRP panels or tile.
- Ventilate the room well to control humidity and odors.
7. Delivery and lead time
Check the lead time when you order (the Standard Series currently ships in about four weeks), and confirm that doorways and hallways on the delivery path are wide enough for the tub.
Download the spec sheets
Each product page includes downloadable spec sheets and plumbing details for your plans. Have a question about a specific site? Contact our team for contractor pricing, volume quotes and installer referrals.